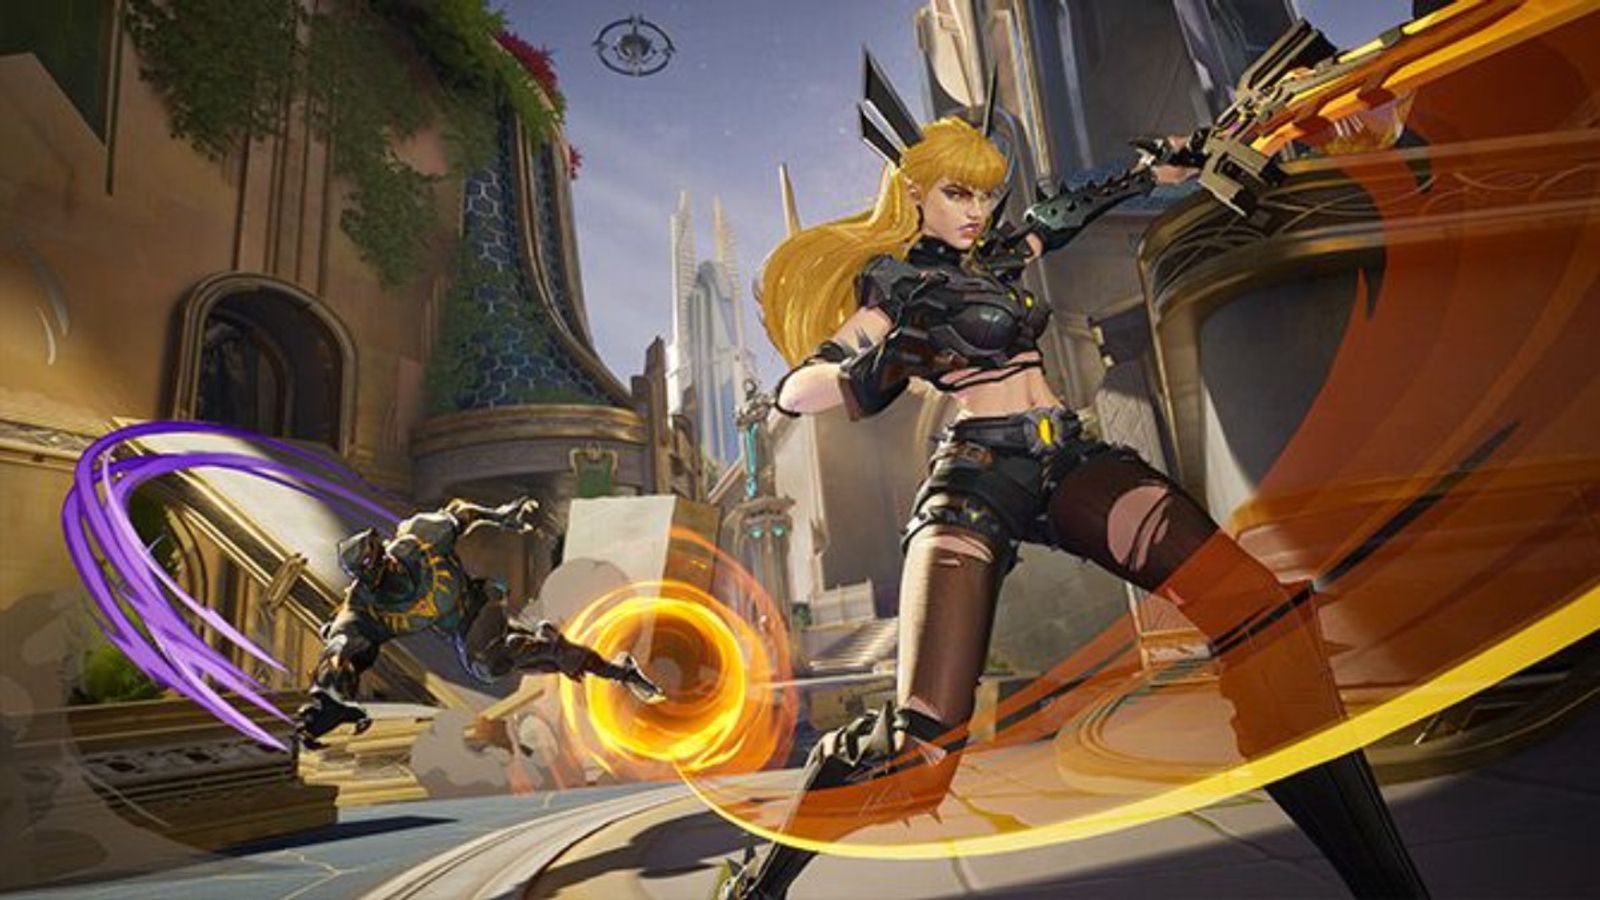
Sometimes, personalising your gaming experience can have a significant impact on how much you like and how well you perform in your favourite games. Changing and using custom crosshairs or reticles is one of Marvel Rivals' fantastic features. In order to acquire the ideal reticle for your gameplay, follow this step-by-step instruction to altering the reticle.
Step 1: Access the Settings Menu
To start customizing your crosshair or reticle, go to the home screen in Marvel Rivals. Follow these instructions,
- Tap the Options button,
- Then go to Settings and hit,
- Then go to Controller from there,
- Scroll down from there to Combat where there is HUD Reticle.
Step 2: Choosing your reticle type
Inside HUD Reticle. This is a choice between several reticles that one can choose. Different kinds of reticles give various visual appearances, each offering its particular look ideal for varying tastes and play styles.
- Circle: This is the default reticle.
- Crosshairs: Classic Call of Duty version
- Center: Dot The most minimalist; merely has a dot.
- Circle and Crosshairs: Combines the elements from both circles and crosshairs, so it can be seen quite easily.
Also Read: Marvel Rivals Leaks: Upcoming Heroes and Their Abilities; Check Details
Step 3 Advanced Settings Customization
Now, that you have settled on a type of reticle, the advanced options can be used to change the appearance further. Just click the Plus sign to the left of the Advanced settings menu to view the options below:
- Width: change the overall width of the reticle
- Outline Width: fine-tune the outer edge of the reticle
- Blur: tweak the blur effect to help sharpen it
- Crosshair Length and Angle: Customize the length and angle of the crosshair
- Colour: Change the default white to other colours like yellow, green, or blue. For better visibility, yellow is a recommended choice.
Step 4: Saving Your Custom Reticle
After completing your adjustments:
- Navigate to the top of the menu and select Save as New.
- Name your custom reticle.
- Press R2 to confirm and save your settings.
Step 5: Enjoy Your New Reticle in Gameplay
Return to the game and see your custom reticle on the screen. This personal touch can make your gameplay better and targeting more intuitive.
Customizing your reticle in Marvel Rivals is very simple yet effective, be it minimalist or colourful designs, the options available cater for every taste.


